


Embed Zendesk tickets and dashboards into SharePoint – connect customer service tools to your intranet for better insights.

These 2 Zendesk web parts can be added to your SharePoint straight away
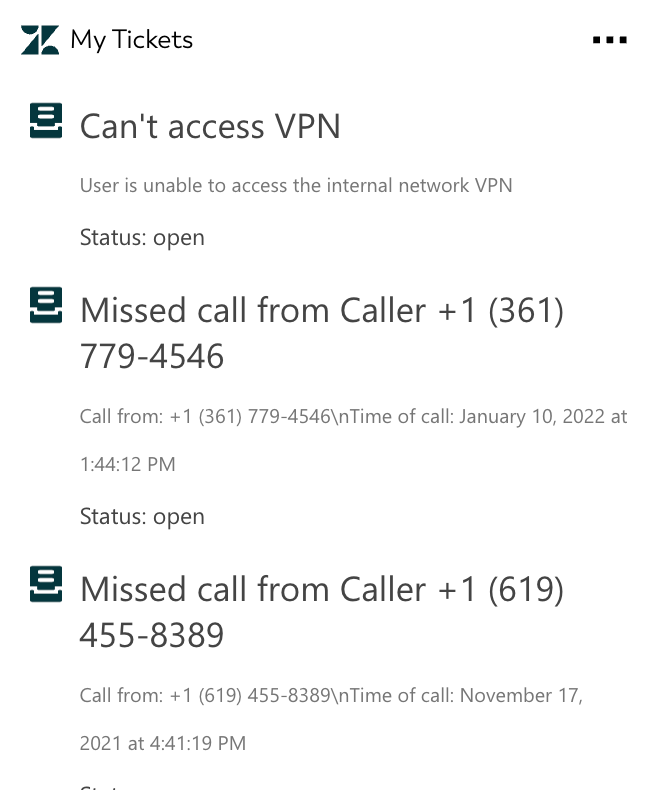
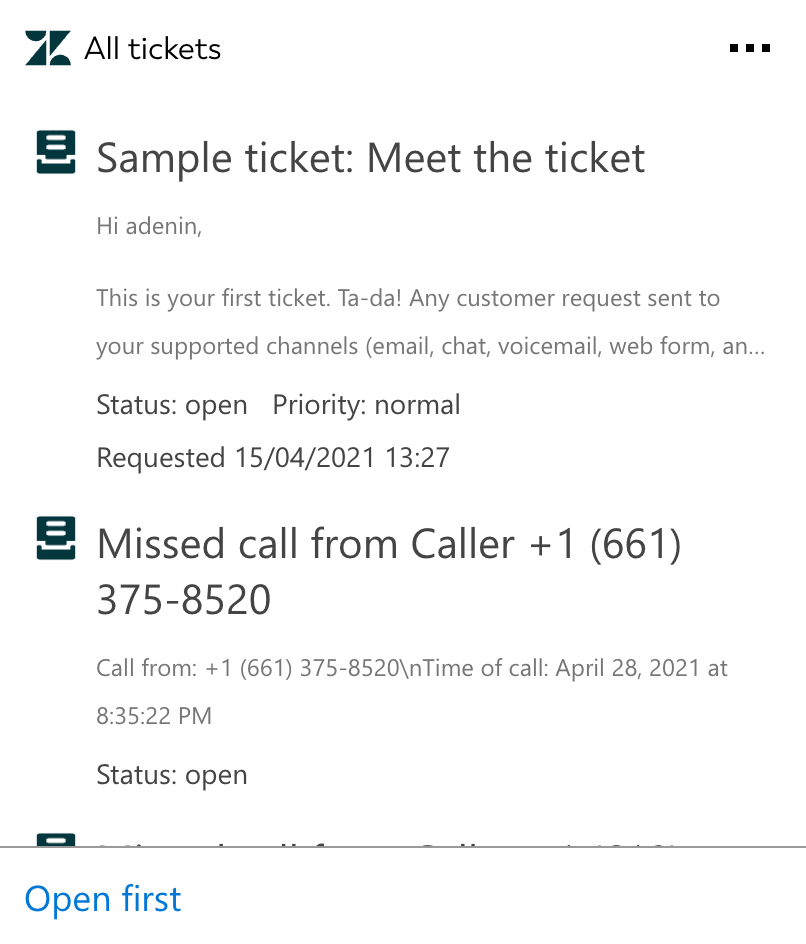
 My tickets web partAll tickets web part
Ever thought about making your Microsoft 365 workflow even more efficient and seamless? Integrate Zendesk with SharePoint via adenin and sit back as we take your productivity to the next level. With this integration, you can embed Zendesk API data right into your SharePoint as a web part, deliver an optimized search experience, and enjoy a more unified Microsoft 365 experience.
What's more, adenin is a breeze for developers to use and integrate, and it's all about making users less frustrated.
Here's what you should expect from this integration:
This is just a taste of what adenin can do for you. We're all about harnessing the power of technology to streamline workflows, improve productivity, and make your work life a little less frustrating. Intrigued?
Sign up now to start your free account with adenin and take your SharePoint and Zendesk experience to the next level.
With our drag-and-drop designer you can easily customize the built-in layouts, apply business logic and create your own use cases.


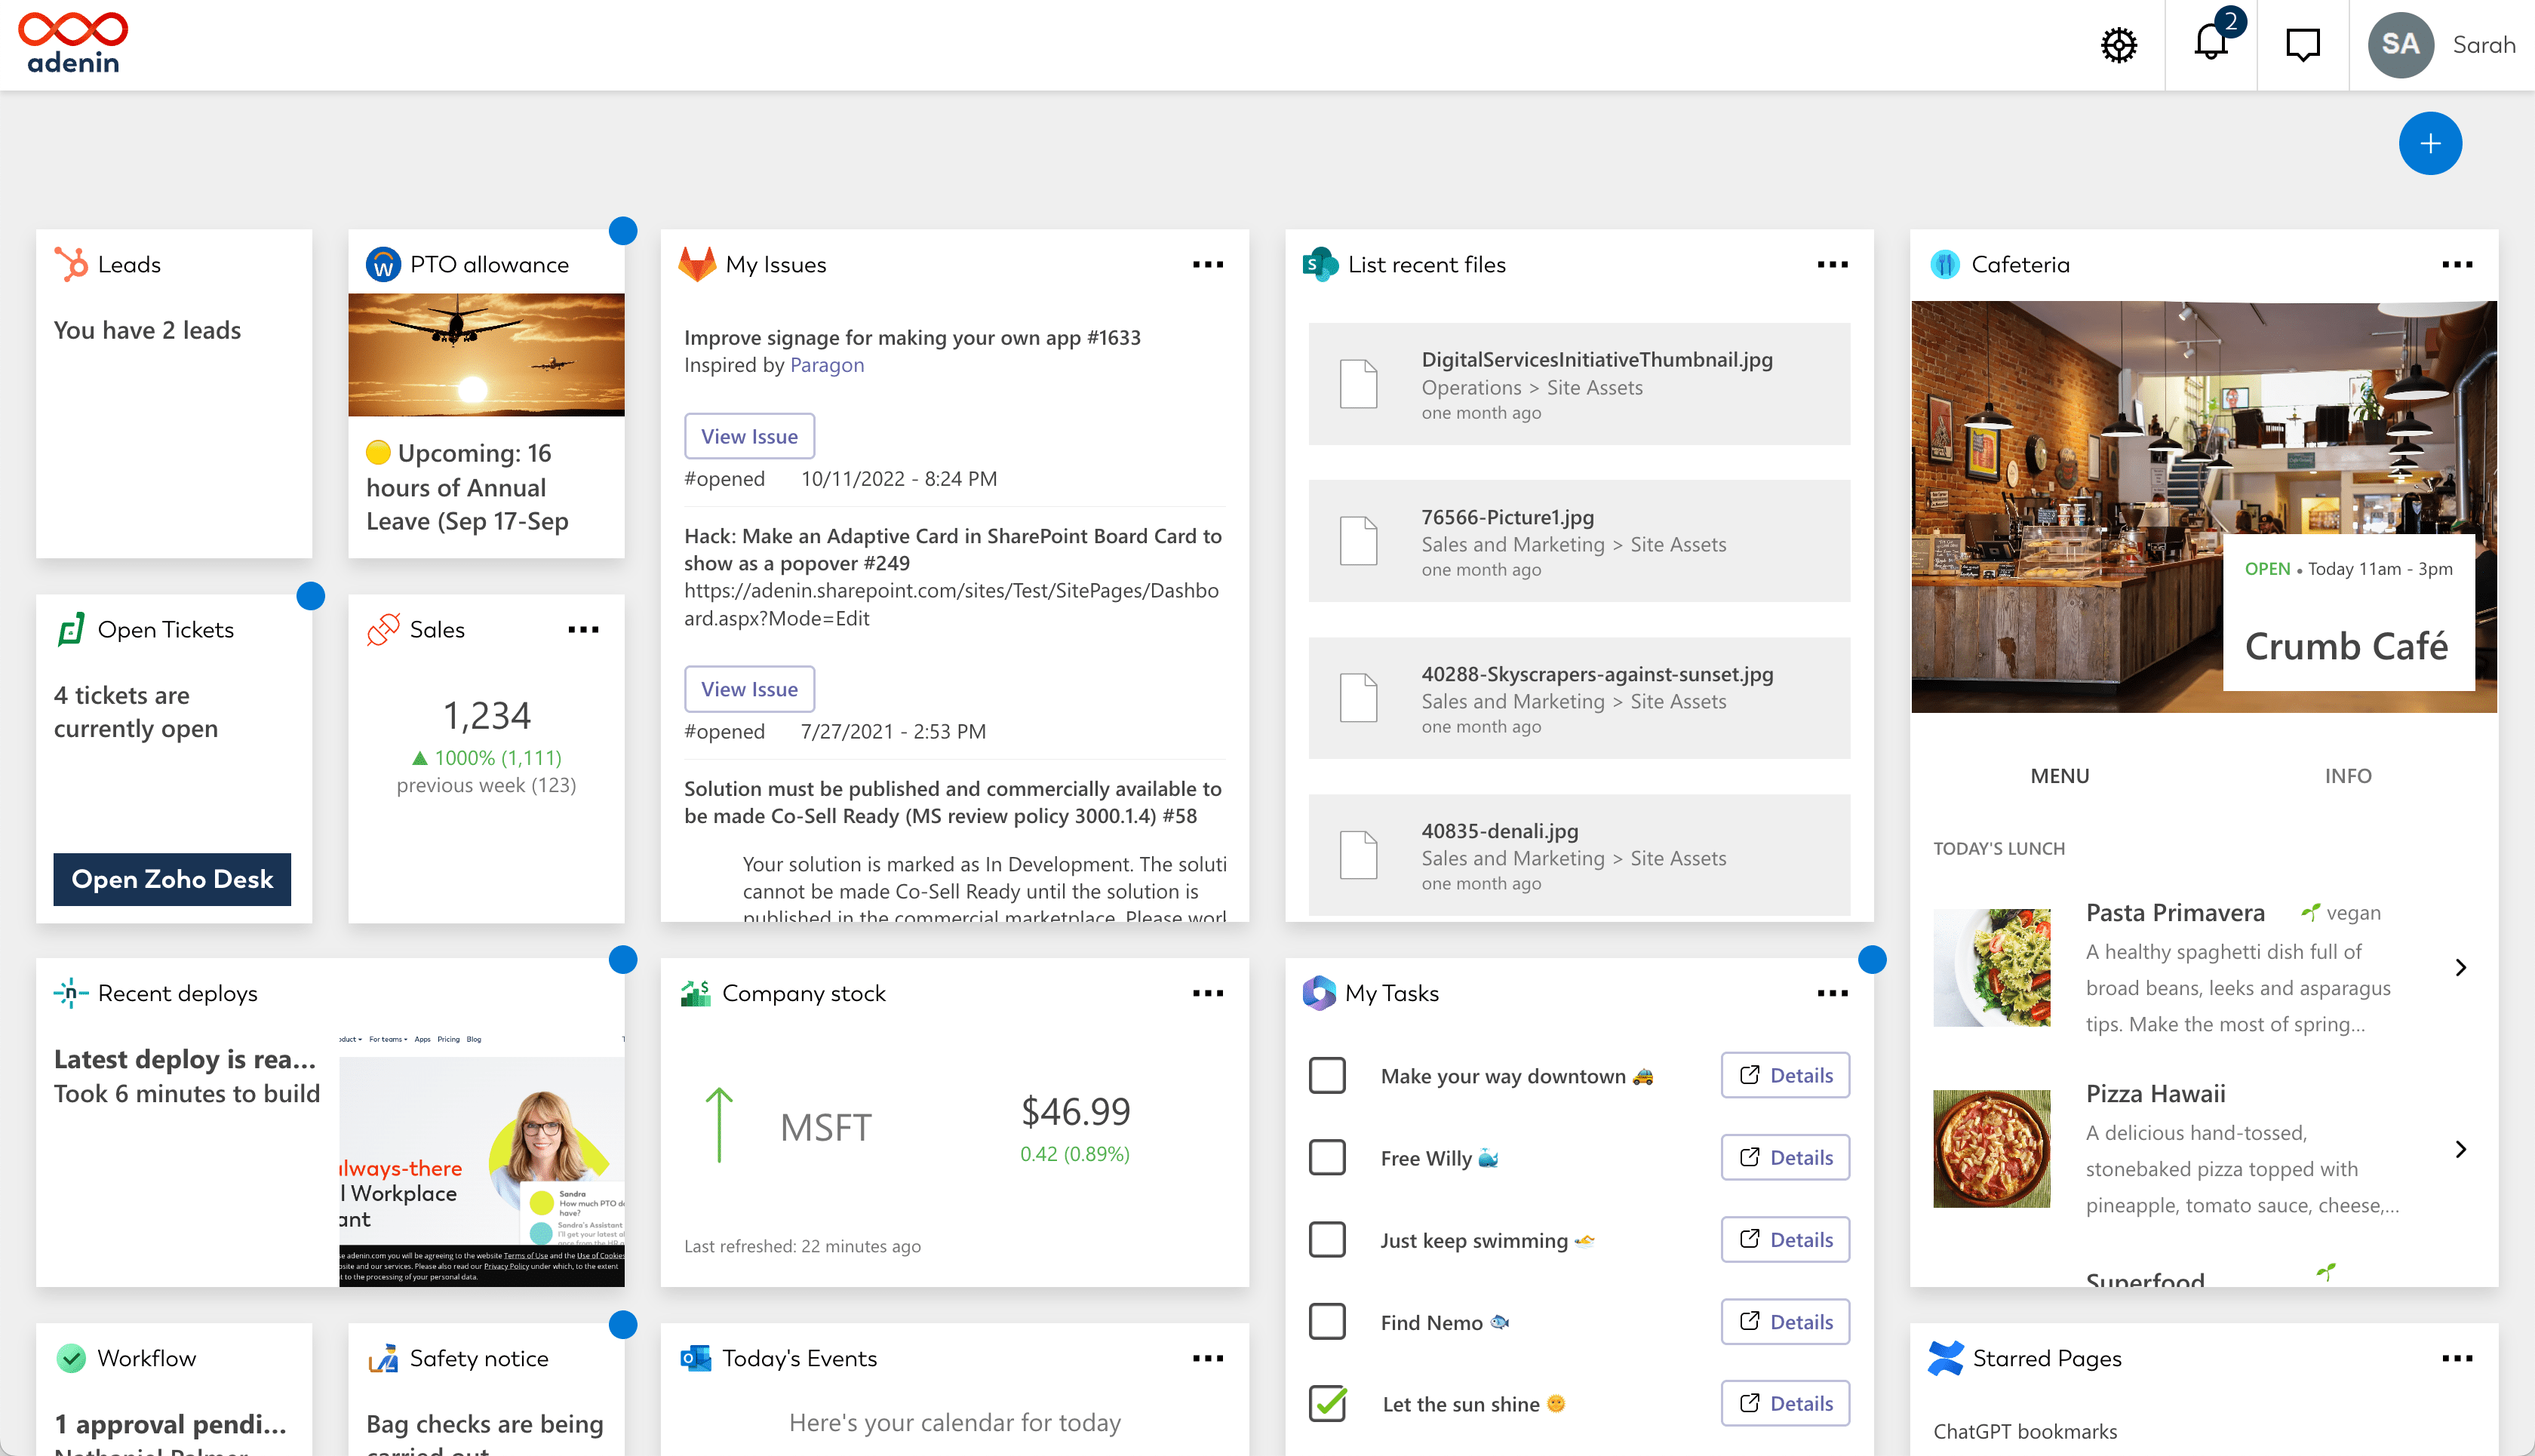
Apart from SharePoint, the adenin platform offers users personal or shared dashboards that can be easily customized to show you all data that matters to your users at a glance.
Not only do you get a completely free 30-day trial, you can also stay on our Free plan forever. Or upgrade to roll out the web part to your wider organization.
Select how many monhtly active users you need
Anyone viewing your web part in SharePoint is counted as an active user
Billed monthly
Switch to annual pricing (Save 20%)
With adenin's web part you can simply embed Zendesk wherever you want
Go to the Zendesk integration by adenin listing on Microsoft AppSource and click Get it now.


This will take you to the SharePoint store where you can click Add to Apps site.
During the installation there will be further prompts where you should select to Enable this app and add it to all sites, and follow and approve prompts to grant API access.


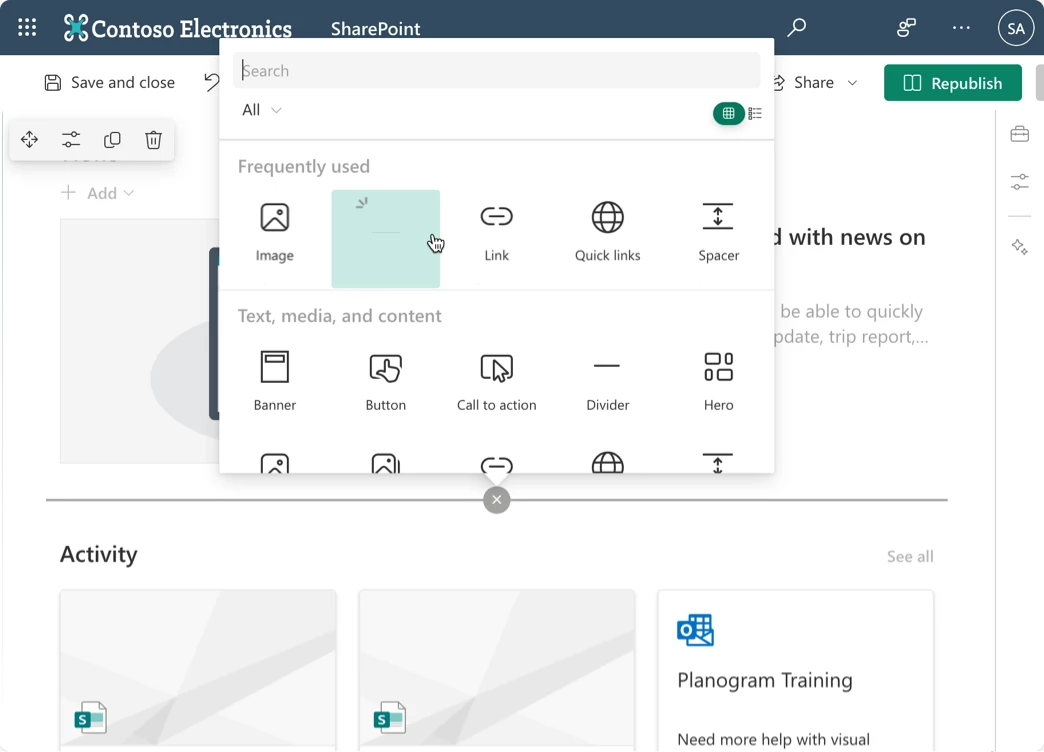
Add the web part to your SharePoint page by picking it from the toolbox. Then click on Configure to open the webpart's configuration in the sidebar.
 Zendesk integration
In the sidebar click on + Connect to Zendesk and then follow the steps in the modal by clicking Next and authorizing your Zendesk account.
At the end click Finish and the web part will load your Zendesk API data.

Zendesk
Optionally, you can modify your Zendesk web part by clicking on Edit in Designer in the sidebar.

We're always delighted to hear from users – especially if the reviews are this glowing
"⭐️⭐️⭐️⭐️⭐️ Shows a timeline of upcoming events"
Our team needed a straight forward way to see upcoming sales calls in SharePoint. This web part lets you show users their own calendars, as well as shared ones and was just the ticket. During installation we got an error message, which the support addressed.
"⭐️⭐️⭐️⭐️⭐️ The Digital Chatbots"
What do you like best about the product?
It provides reminders from my google calendar. I can customise my board to access all my daily essentials in one place. Such as google drive, emails, Jira updates, and more. It has made my life much easier. I do not have to open every single app separately to find messages.
What do you dislike about the product?
It is a bit pricey. The prices could be lower.
What problems is the product solving and how is that benefiting you?
Saving time and energy by providing all updates in one place. Connected to several apps such as Slack, gmail, drive, sheets, etc.
"⭐️⭐️⭐️⭐️⭐️ Simple widget"
This simply reads in your RSS feeds and makes it into a web part, for example to share your company blog. The web part's look can be fully adjusted, but there is a small monthly fee for this service (outside of a small monthly allowance).
"⭐️⭐️⭐️⭐️⭐️ Viva Connections"
We connected Workday to our Viva Connections dashboard to show users their PTO balances and offer a convenient way to request time off. The support was very helpful to go through an internal Infosec approval which added about 6 weeks to be able to roll it out. But the result is perfect!
"⭐️⭐️⭐️⭐️⭐️ Show conversations from non-Teams locations"
Through a merger we had some locations that were used to Slack, and with this web part we could easily import their recent conversations into our SharePoint pages which makes it easier for management to monitor our new stores.
"⭐️⭐️⭐️⭐️ The app store Viva was meant to have"
Despite a lot of hype around Viva dashboard we always held back rolling it out as there was just not a lot of apps available for it, we use ServiceNow, Salesforce and Workday for example; none of which are available in App Source. The only way really was to make up a custom ACE that's pretty much just a fancier bookmark to link out to each portal. So I was stunned to see these 3 apps being available through this Viva app. SNOW took help from their support team get started, and we hit one or two roadblocks submitting requests to Workday, etc. so it's not perfect but after a couple of support sessions we were able to put together a Viva homepage that works great for users and, to my eye, really delivers on the vision Microsoft promised with Viva being the central tab in Teams + SharePoint. So this app = must have
"⭐️⭐️⭐️⭐️⭐️ App store for web parts"
I understand this is a company trying to create a marketplace of apps for SharePoint web parts which is a cool idea. It generates a list from the connected app's API which you can then refine. The selection could be a lot bigger, but for the apps I wanted and they had, it worked really well.
adenin’s SharePoint integration isn't just limited to Helpdesk applications, such as Zendesk. Truly transform your SharePoint experience by simply browsing our App Directory for all your other work tools.
It’s like a personal homescreen where you can monitor everything with ease and from one central location.
Browse App Directory