
SharePoint integration

Adenin's platform is presented in SharePoint as the App integrations by adenin package. It's easy to install it and will give you access to all the App Directory apps and the Card designer.
Click the Install web part button above, which will open the App integrations app on Microsoft App Source.
Sometimes, the installation from the App Source website can prove tricky. An easier way can be to instead search for the app on the SharePoint App Store, however there isn't a direct link to it so we'll explain how to manually find it
Go to the More features page in the SharePoint admin center and select Open under Apps
On the Manage apps page, select SharePoint Store in the left pane.
Search for App integrations by adenin and there select Add to Apps site
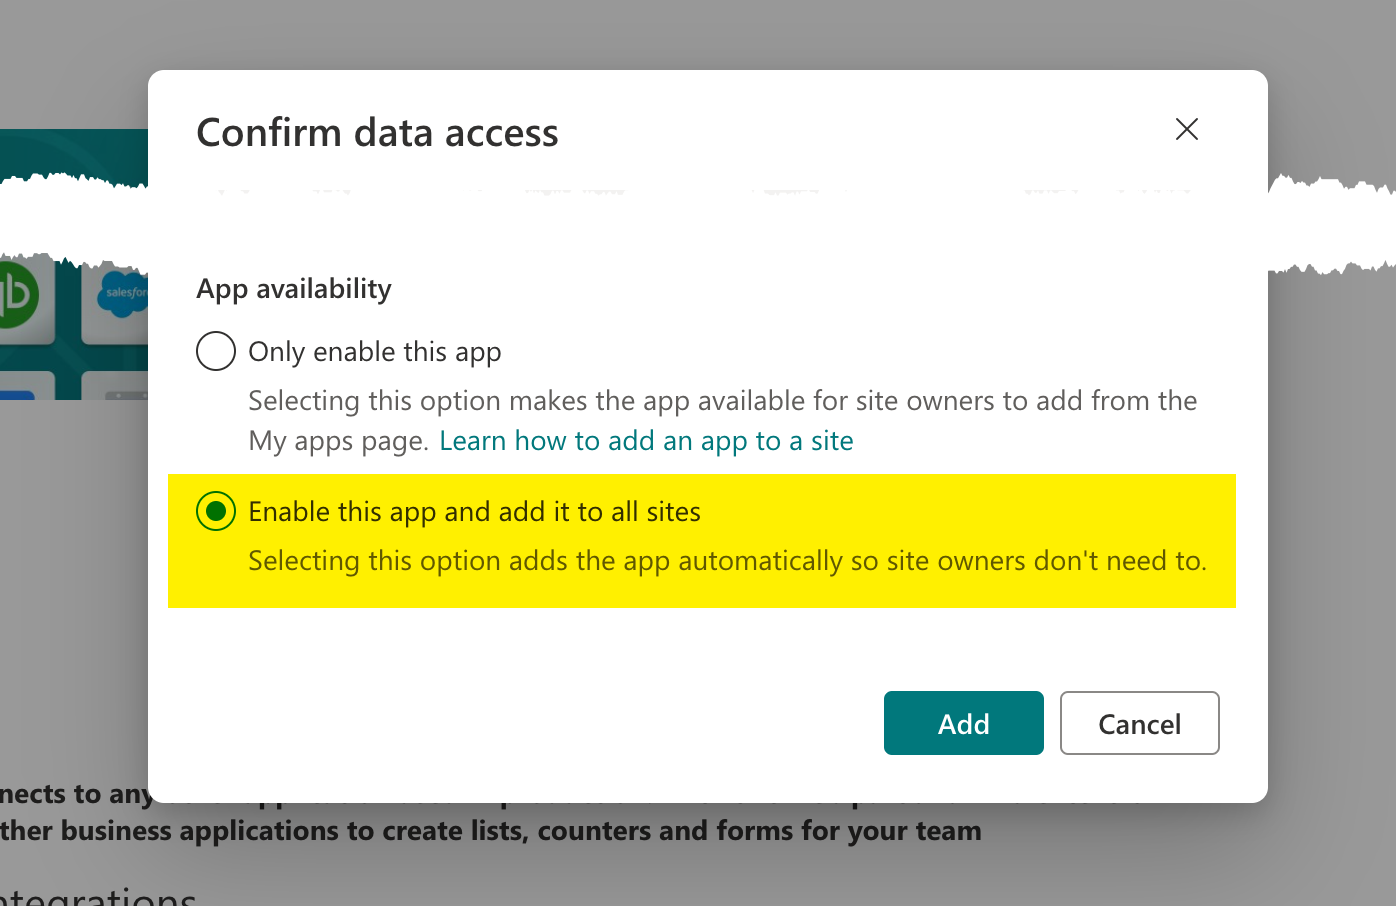
During the installation, select to Enable this app and add it to all sites, then press Add
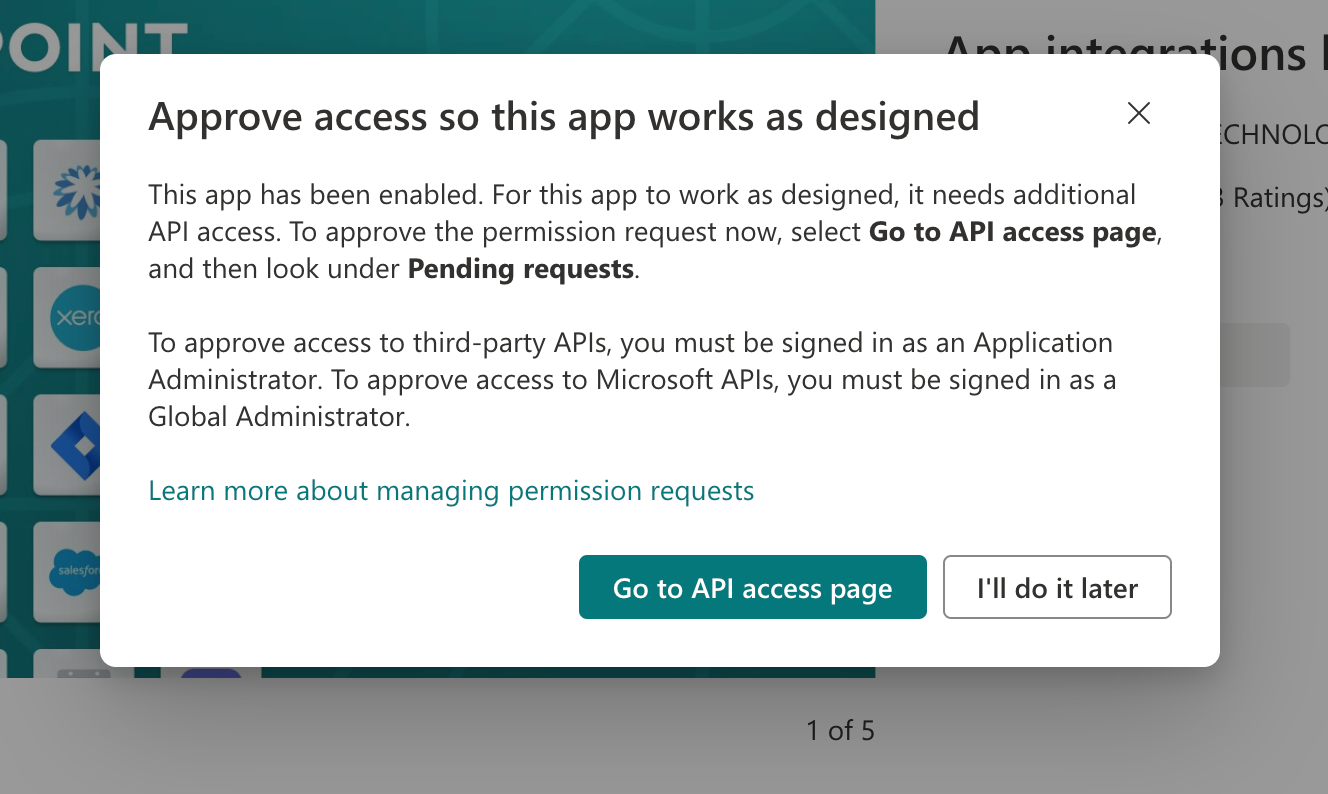
After the installation you will be asked to Approve access so this app works as designed which you should follow by clicking on Go to API Access Page
There select the request for the
User.Readscope and then press Approve. If there's nothing showing under Pending requests, then another SharePoint app has been granted this same permission in the past (it only needs approval once for all your SharePoint apps). Conversely, theUser.Readscope could show as being requested by another app, in which case that app previously made the request during its installation, and it never got approved. Learn more about why this is required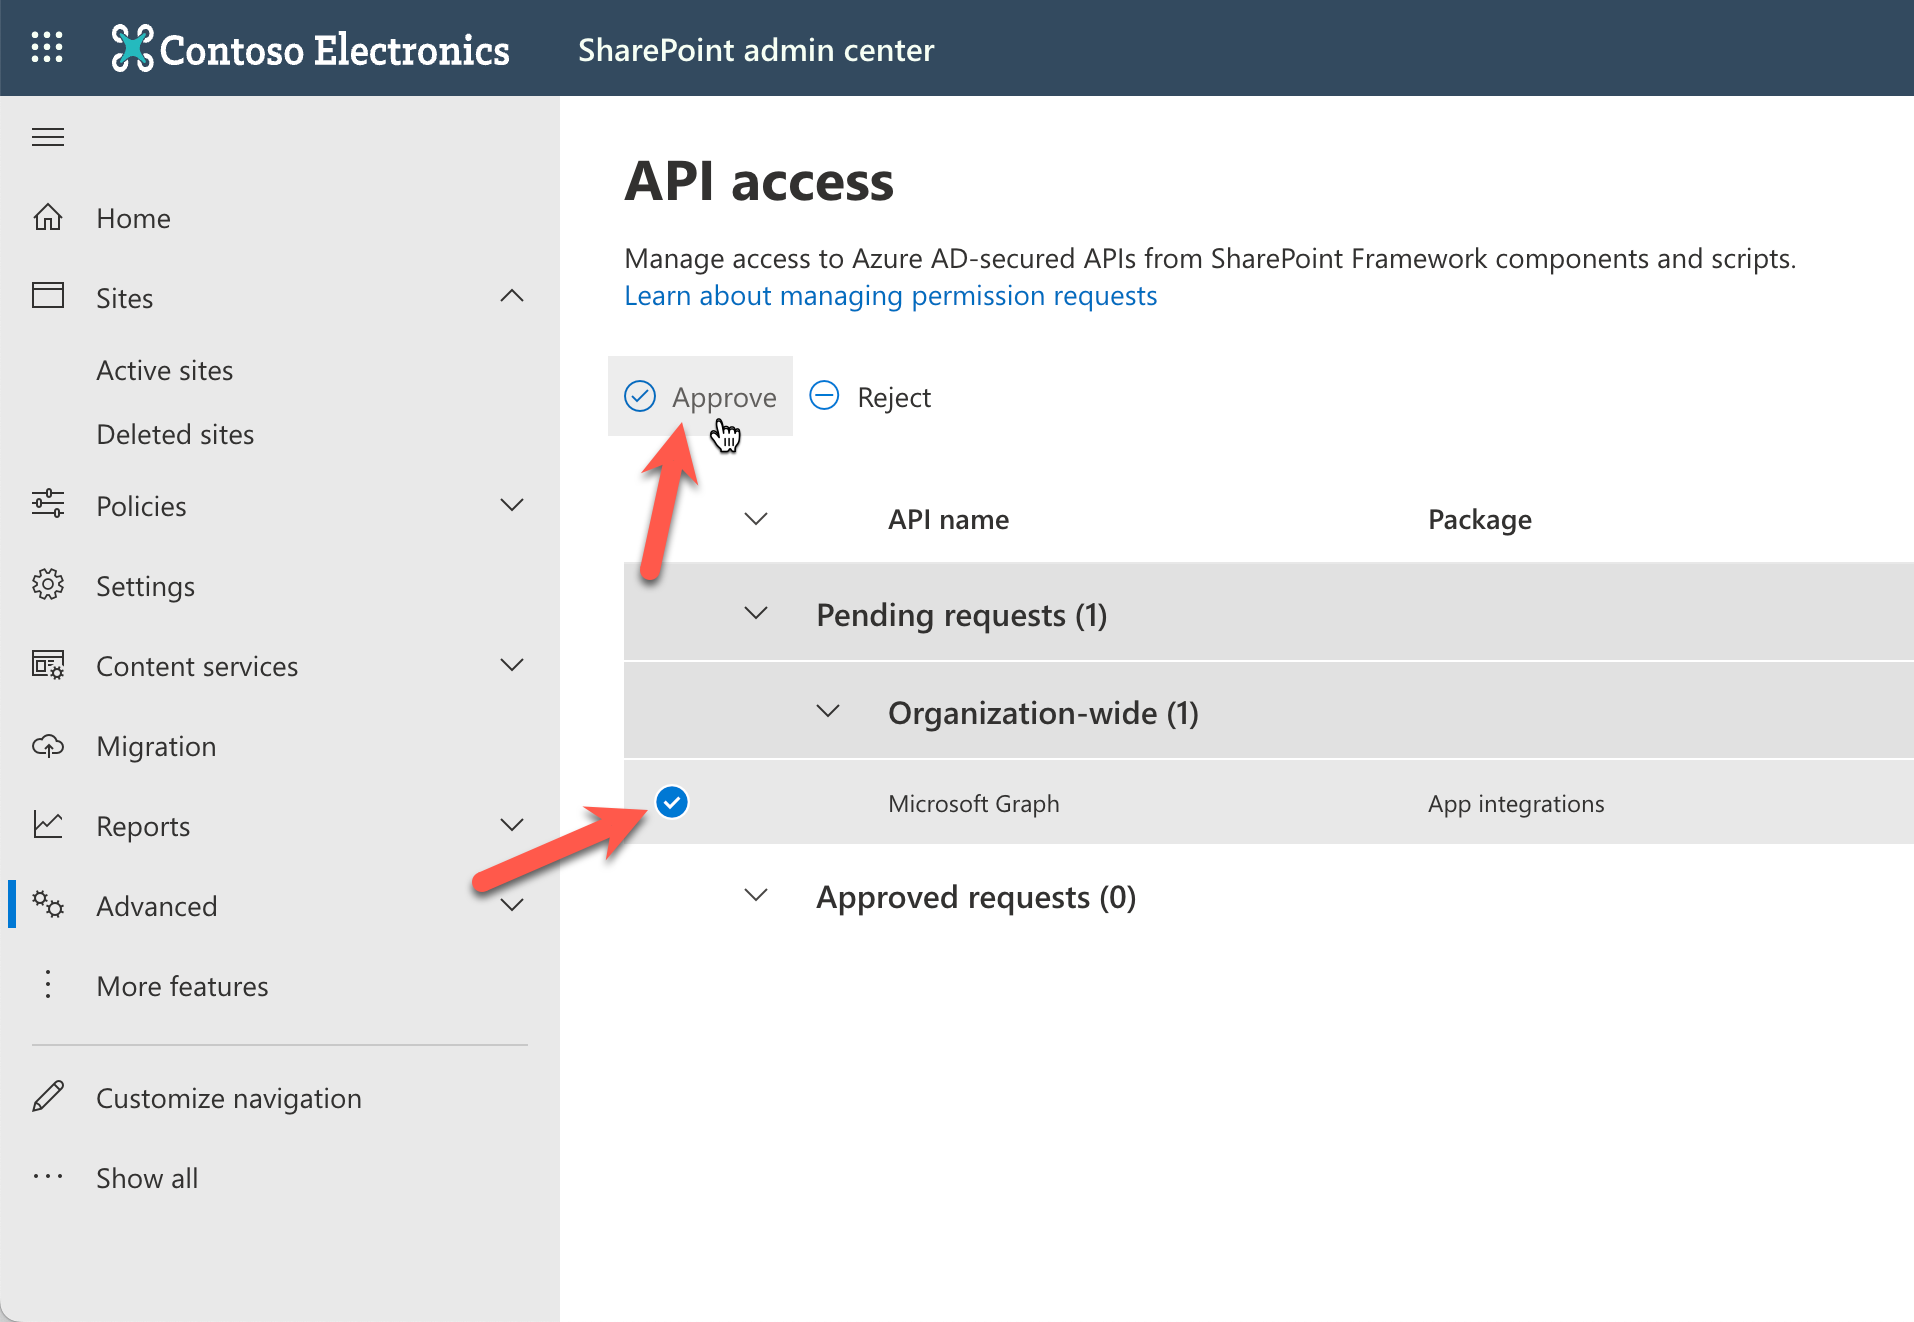
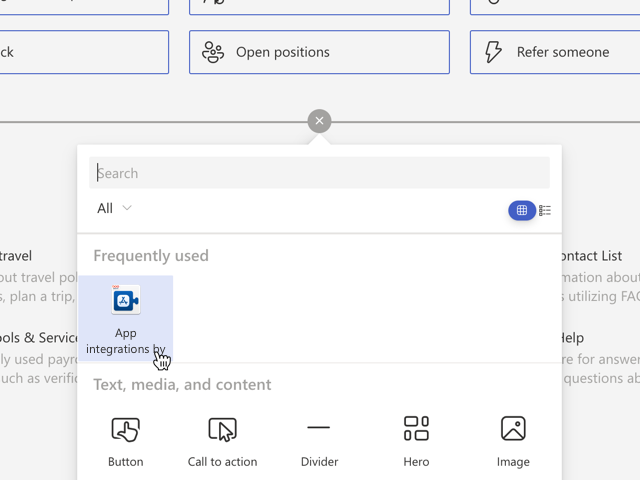
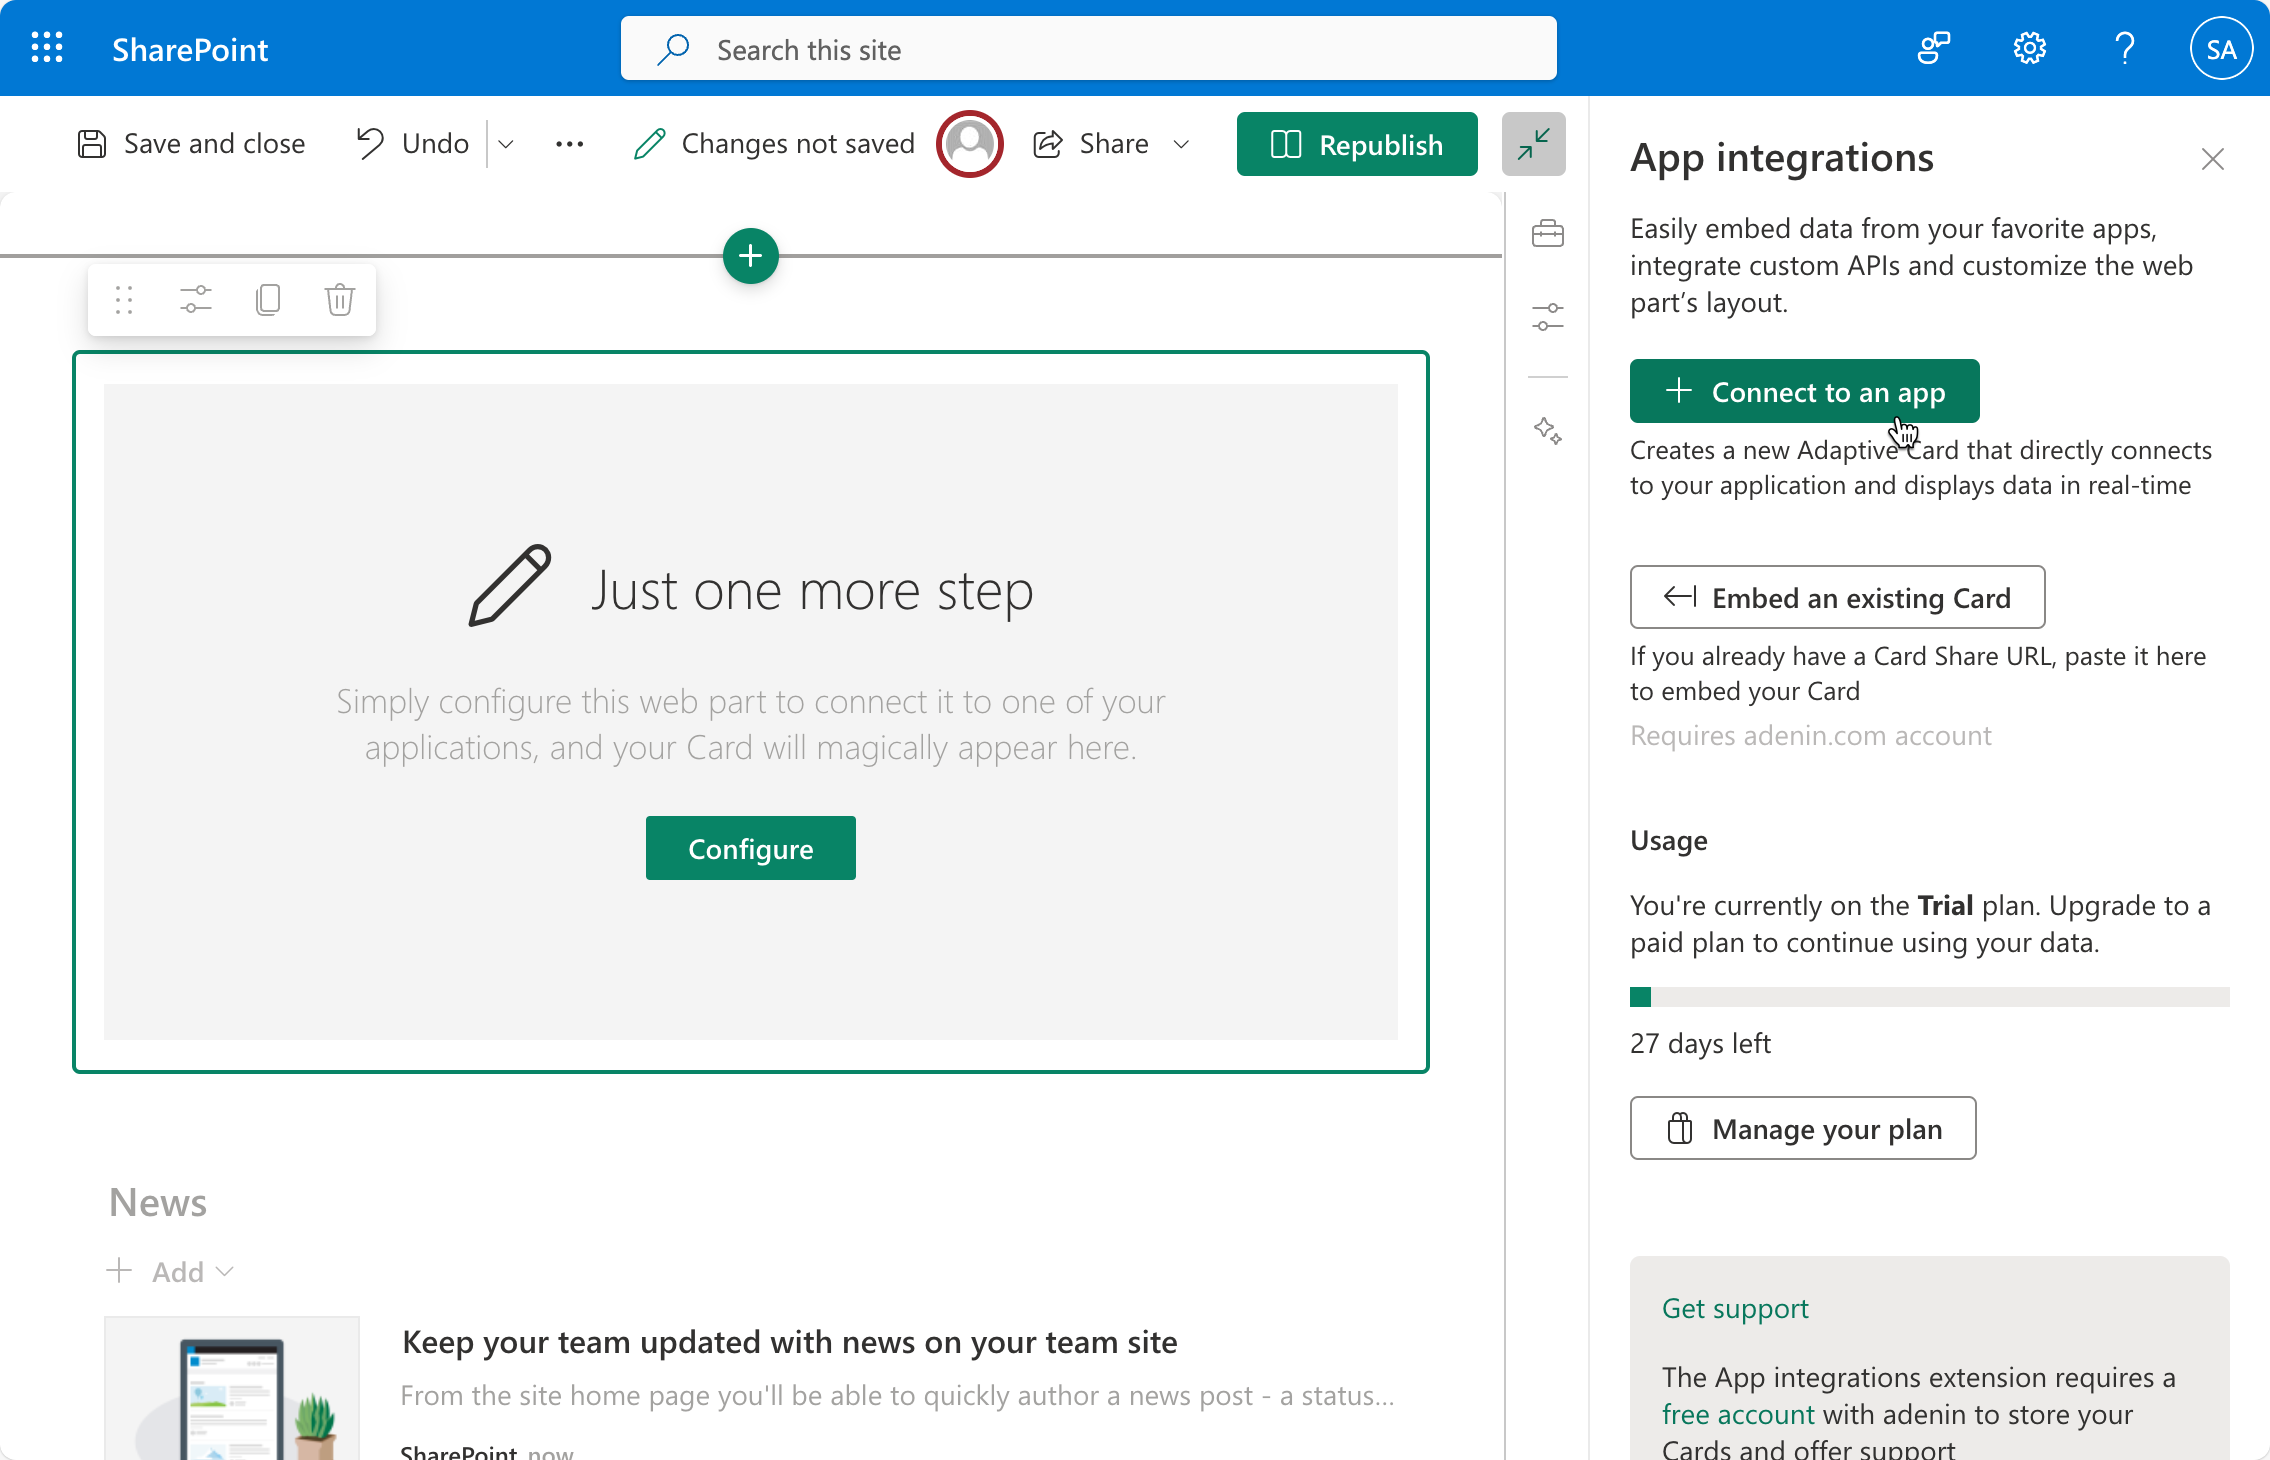
Now go to a SharePoint page, and add a App integrations web part to it
Then select the Edit icon and select Embed an existing Card

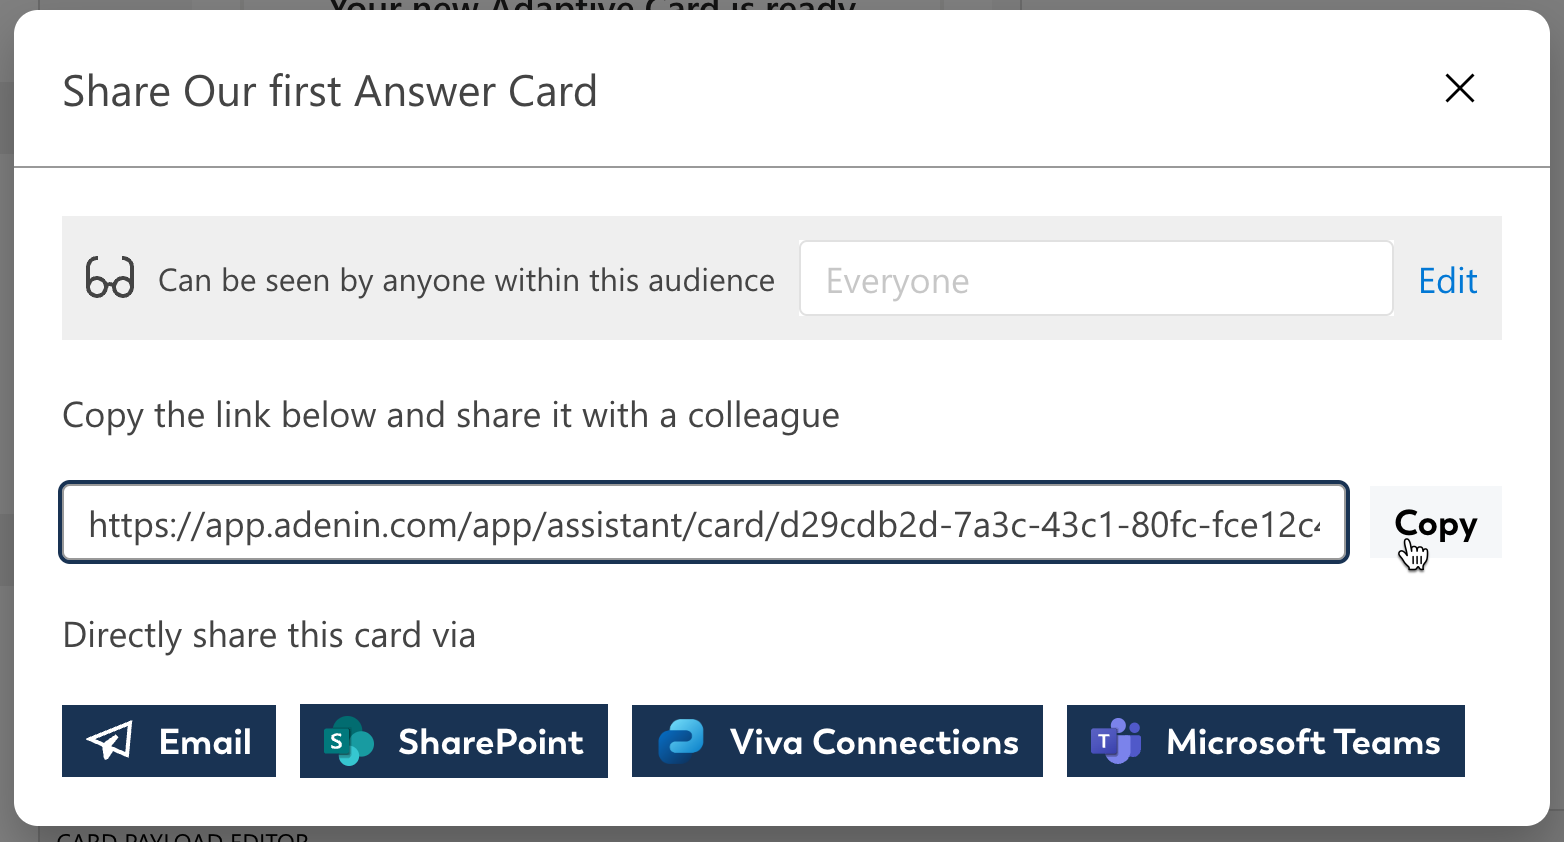
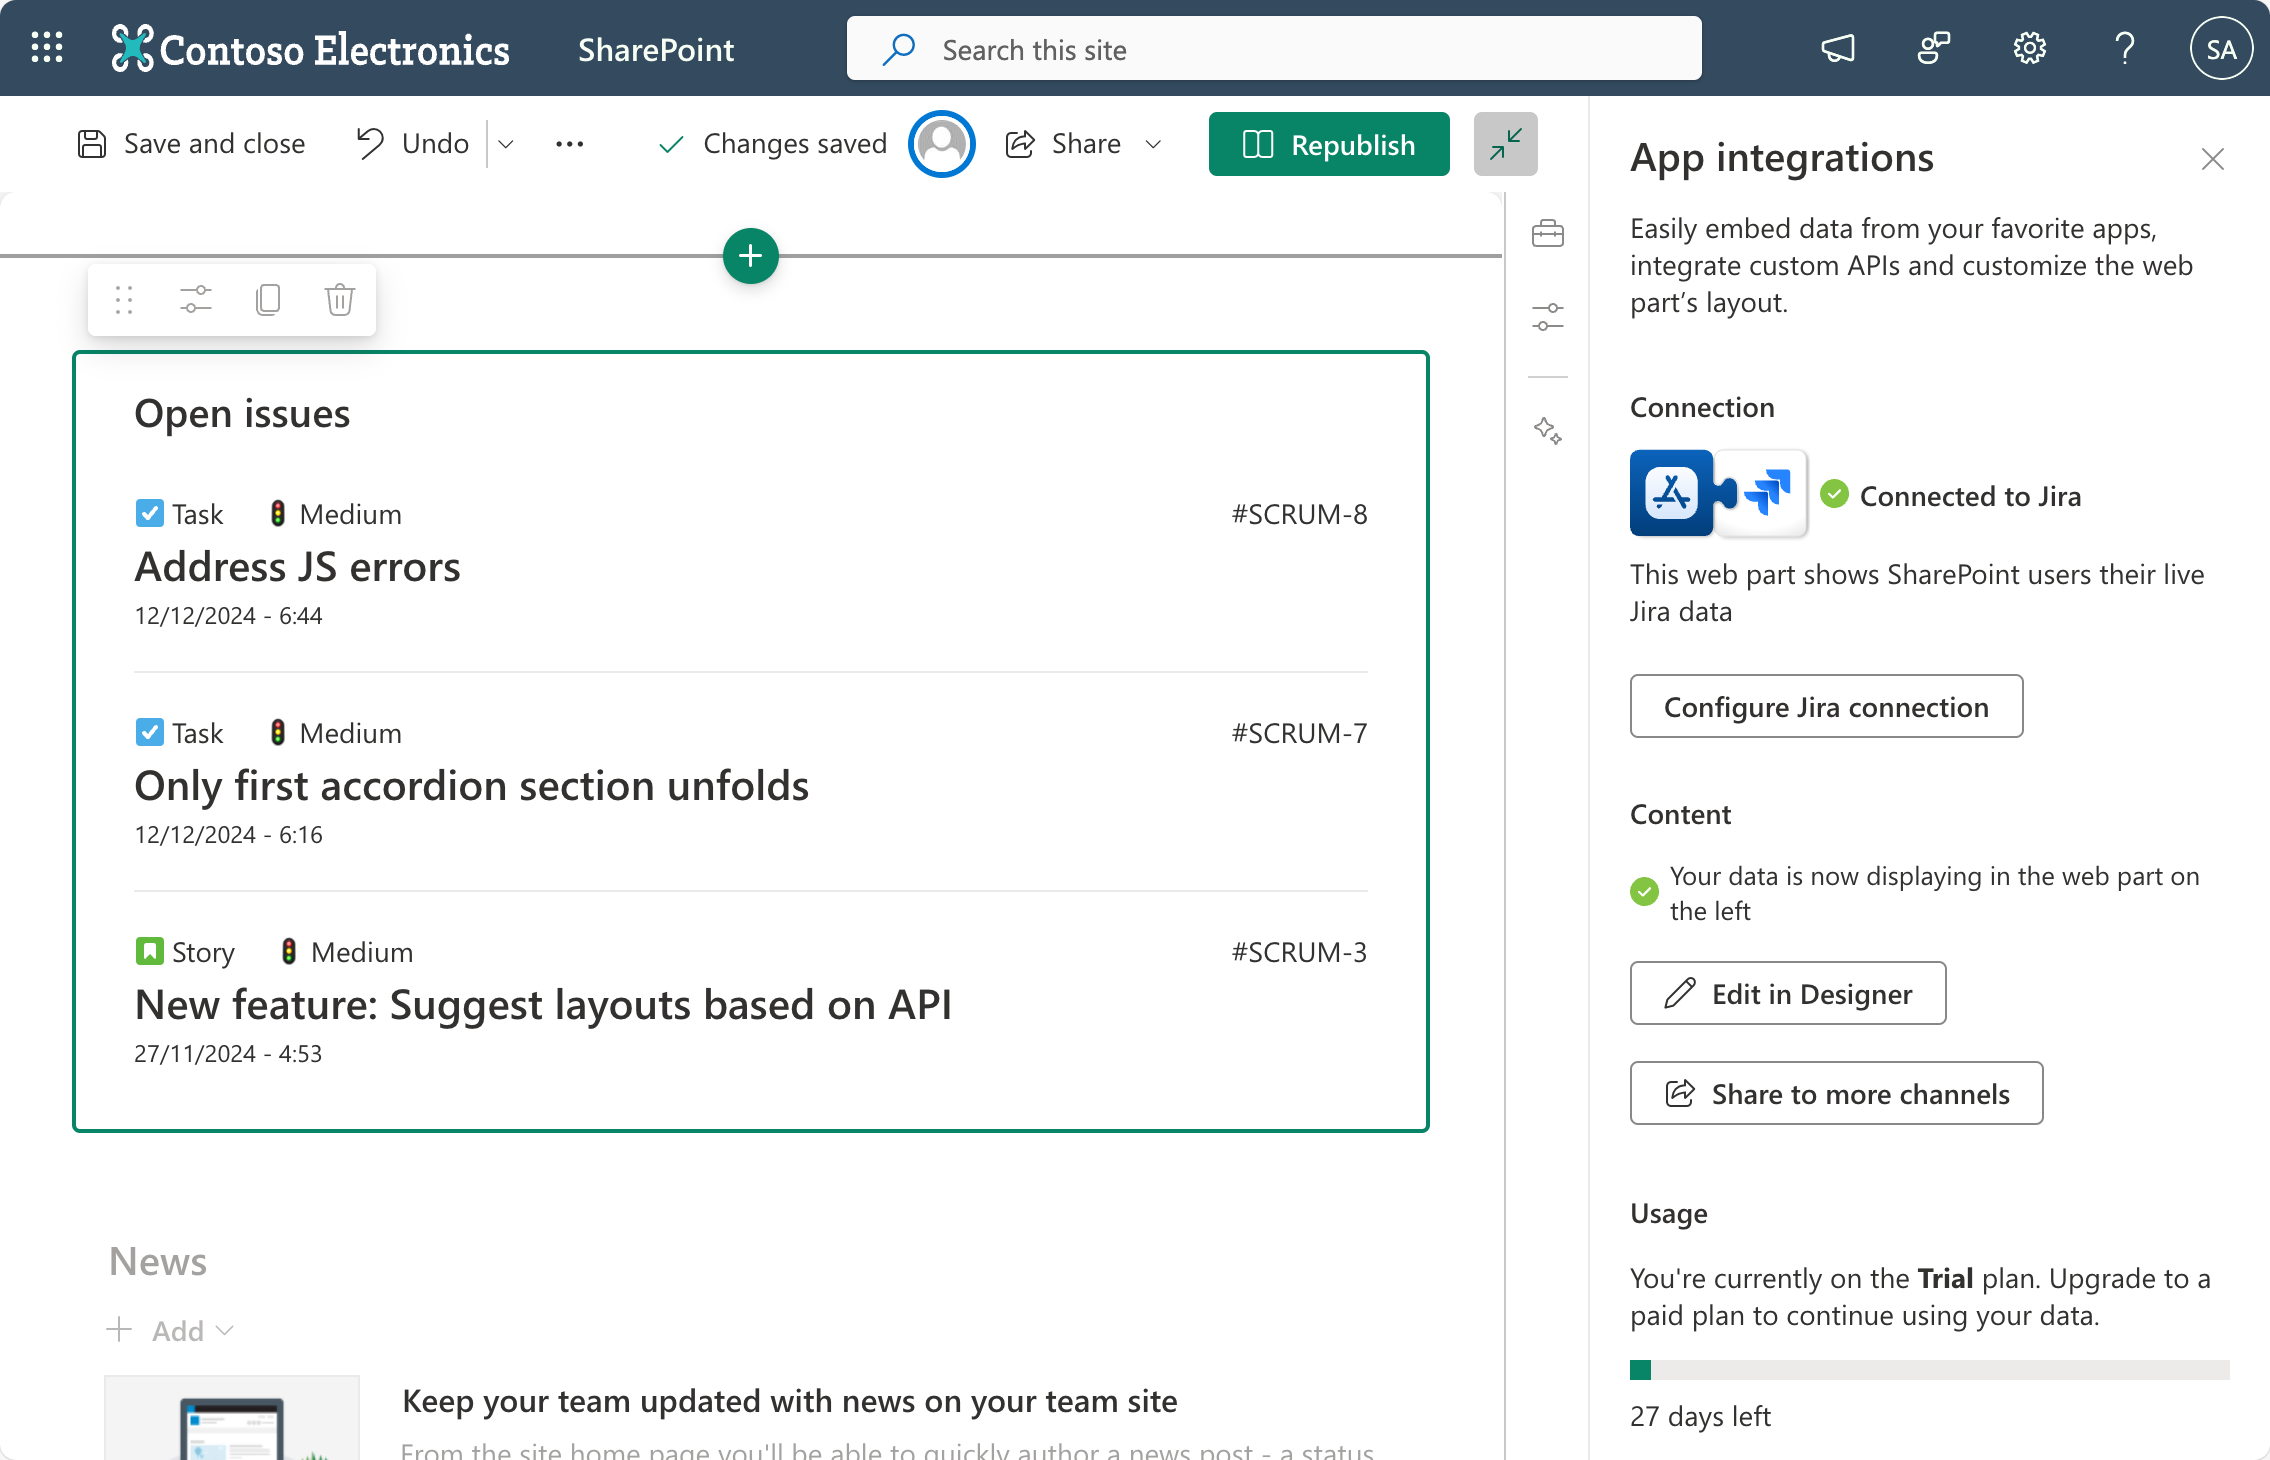
Now paste the Card Share URL from your adenin account. This can be found on any Card by clicking on the ··· menu and then Share.


100+ free SharePoint apps
Connect the SharePoint integration with one of 159 free apps that are available from the App Directory (requires free account)


